 After-Sales:
 EN
EN
 AR
AR
 HR
HR
 NL
NL
 FI
FI
 FR
FR
 DE
DE
 EL
EL
 HI
HI
 IT
IT
 PT
PT
 RO
RO
 RU
RU
 ES
ES
 TL
TL
 ID
ID
 SL
SL
 VI
VI
 ET
ET
 MT
MT
 TH
TH
 FA
FA
 AF
AF
 MS
MS
 IS
IS
 MK
MK
 HY
HY
 AZ
AZ
 KA
KA
 UR
UR
 BN
BN
 BS
BS
 KM
KM
 LO
LO
 LA
LA
 MN
MN
 NE
NE
 MY
MY
 UZ
UZ
 KU
KU


News
How to Clean a Commercial Tilt Skillet | A Step-by-Step Guide
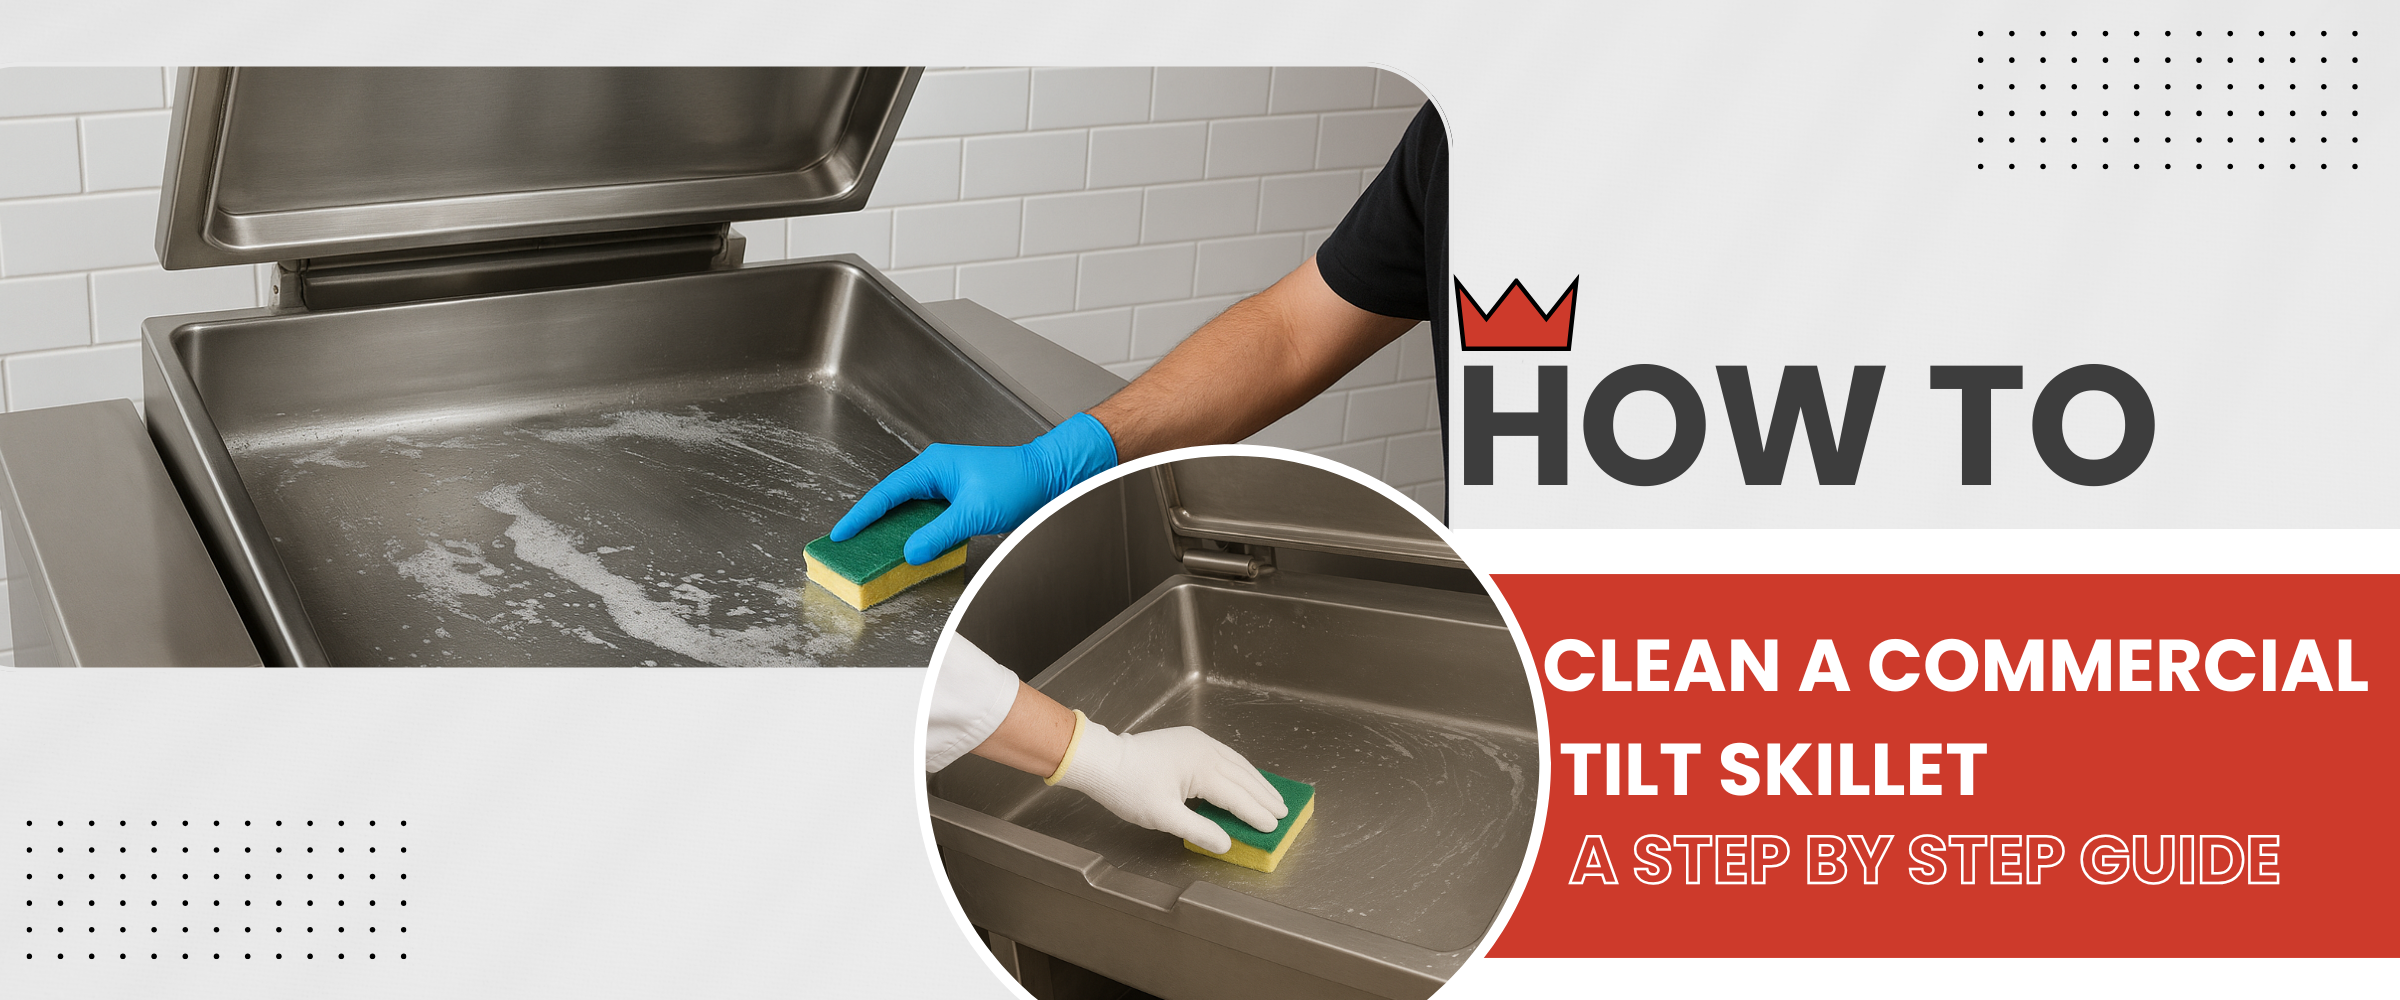
The tilting skillet (also known as a commercial braising pan) is one of the most versatile commercial kitchen appliances, which allows chefs to braise, sautés, grill, simmer, and prepare large quantities of meals quickly and that's why it's an essential unit in many institutional kitchens, such as schools, hospitals, and some government cafeterias. Because it’s used so heavily, proper cleaning and maintenance are critical. This professional, step-by-step guide will walk you through daily cleaning, deep cleaning, sanitization, and preventive maintenance for an electric tilt skillet or gas model so your tilting skillet braising pan stays safe, sanitary, and long-lasting.
Understanding the Commercial Tilt Skillet
A commercial tilt skillet is a large, flat, rectangular or slightly sloped cooking surface with a tilting mechanism to pour or drain liquids easily. What is a tilt skillet used for? It’s used for searing proteins, reducing sauces, simmering soups, braising vegetables, and replacing multiple pots and pans in high-volume operations.
Electric vs. Gas Tilt Skillets
Electric models provide even, controlled heating and are common in many modern commercial kitchens, while gas models heat quickly and are sometimes preferred where immediate temperature changes are needed. Regardless of fuel type, the cleaning steps and hygiene requirements are broadly the same, with special attention to electrical components on electric units.
Why Cleaning is Essential: Safety, Performance, and Longevity
Failing to clean a commercial tilt skillet can lead to bacterial growth, off-flavors, degraded heating efficiency, and premature corrosion. Regular cleaning prevents cross-contamination between menu items and keeps the appliance within health-code compliance.
Tools & Supplies You’ll Need
- Food-safe degreasing detergent
- Soft sponges and microfiber cloths
- Nylon scrub brush or pad
- Baking soda
- Food-grade sanitizer
- Bucket, warm water, rubber gloves, apron
- Plastic or silicone scrapers
Daily Cleaning — Quick Checklist
Every day, ideally after each heavy use or service period, follow this checklist to keep the skillet in top shape:
- Turn off and unplug (or shut off gas) and allow the unit to cool slightly (warm is okay; do not clean while piping hot).
- Drain liquids via the tilt mechanism into a proper container or drain; scrape out solids with a plastic scraper.
- Apply warm water and mild detergent; scrub gently with a sponge or nylon pad.
- Rinse thoroughly with hot water — remove all detergent residues.
- Sanitize per your facility’s approved sanitizer and air-dry or towel-dry with a lint-free cloth.
Step-by-Step: How to Clean a Commercial Tilt Skillet
Step 1 — Power & Safety First
Always turn the appliance off and, for electric units, disconnect power at the breaker if you’ll access internal components. Allow the surface to cool to a safe, warm temperature — never immediately clean a piping-hot surface with cold water, as thermal shock can warp stainless steel.
Step 2 — Remove Food & Drain
Use a food-safe plastic scraper to remove stuck-on food and scrape toward the drain. Operate the tilt mechanism carefully to direct food waste into the approved discard container or grease trap. Avoid metal tools that will scratch the stainless surface.
Step 3 — Apply Cleaning Solution
Mix a warm water and food-grade degreasing solution. For heavy grease, allow the detergent to soak 5–10 minutes to loosen carbonized build-up. For mild burnt-on spots, sprinkle a thin layer of baking soda, add a little water to form a paste, let sit 10–15 minutes, then scrub gently with a nylon pad.
Step 4 — Scrub, Rinse, and Inspect
Work in small areas and rinse frequently to prevent detergent residue. Pay close attention to corners, the transition between pan and lip, the drain assembly, and the hinges or tilting pivot where grease tends to accumulate. After rinsing, visually inspect for remaining carbon or varnish and treat with baking soda paste if needed.
Step 5 — Sanitize & Dry
Apply a food-safe sanitizer according to the manufacturer’s contact time. After sanitizing, either air-dry or dry with a lint-free towel. Ensure all moisture is gone from electric control panels and switches — moisture causes shorting and corrosion.
Step 6 — Final Checks & Reassembly
Check gaskets, hinge pins, and the tilt mechanism for wear and lubricate moving parts with approved lubricants if applicable. Replace any damaged seals immediately to prevent leaks into electrical housings.
Deep Cleaning (Biweekly or Monthly)
Deep cleaning should be scheduled based on volume — heavy-use facilities may deep-clean every two weeks, others monthly. For deep cleaning:
- Disconnect and remove any removable heating elements or covers per manufacturer instructions.
- Use a moderately strong descaling agent if limescale builds up (follow manufacturer rules and rinse thoroughly).
- Clean and inspect the drain valve, and flush gthe rease traps.
- Polish the exterior stainless steel with a non-abrasive stainless polish to prevent corrosion and keep surfaces shiny.
Preventive Maintenance Tips
Small, regular checks prevent expensive repairs:
- Inspect electrical wiring for cracking or discoloration monthly.
- Check tilt hinges and fasteners weekly and tighten as needed.
- Replace worn gaskets and seals to avoid leaks into controls.
- Keep a maintenance log so issues are fixed before failure.
Common Mistakes to Avoid
Don’t use steel wool, harsh acids (like undiluted muriatic acid), or bleach on stainless steel cookware; they can etch or pit the metal and damage finishes. Never immerse control boxes or electrical housings in water. And don’t skip cooling — cleaning an extremely hot surface with cold water is risky.
Quick Troubleshooting
Problem: Persistent burnt residue.
Fix: Apply baking soda paste, let sit, use a plastic scraper and nylon scrubber. Repeat as needed and finish with degreaser.
Problem: The Electrical switch is sticky after cleaning.
Fix: Ensure the switch housing is fully dry before reconnecting power; if internal contamination occurred, call a certified service technician.
Maintenance Schedule (Suggested)
| Frequency | Task |
|---|---|
| After each heavy use / daily | Wipe, remove food, sanitize surface |
| Weekly | Inspect gaskets and hinges; deep clean around drains |
| Monthly | Descale, check electrical components, polish exterior |
| Quarterly | Certified service check on thermostats and controls |
FAQs
Q: How often should a commercial tilt skillet be cleaned?
A: Surface cleaning should be done after each use. Professional deep cleans depend on volume but typically every 2–4 weeks.
Q: Can I use bleach on a tilt skillet?
A: No. Bleach and strong chlorine-based cleaners can damage stainless steel and corrode welded seams and electrical components.
Q: What is the difference between a tilt skillet and a braising pan?
A: They are generally the same appliance; names vary by manufacturer and region. Both perform braising and similar cooking methods.
Q: Can I cook acidic foods in an electric tilt skillet?
A: Yes, but clean immediately after to prevent staining or metallic taste transfer.
Q: How do I prevent my skillet from sticking or staining?
A: Avoid overheating, pre-oil surfaces as recommended, and clean promptly after use.
Q: What safety tips should I follow when cleaning?
A: Disconnect power, wear protective gloves, use non-abrasive tools, and follow manufacturer wash instructions to avoid voiding warranties.